How to Use File Manager in cPanel for Website Management
File Manager in cPanel

The File Manager in cPanel is a powerful tool that allows you to manage your website’s files directly through a web browser, eliminating the need for FTP clients or terminal access. Here’s a step-by-step guide to help you effectively use the File Manager for website management:
Table of Contents
1. Accessing the File Manager
- Log in to your cPanel account.
- Navigate to the File Manager option under the Files section.
- Select the directory you want to access, such as the home directory or the document root for your website.
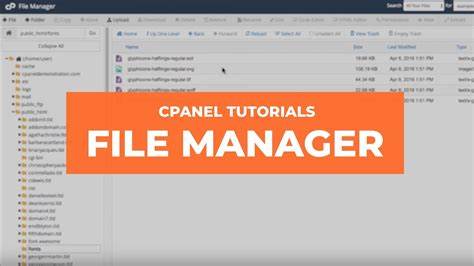
2. Understanding the File Manager Interface
- File Structure: The left-hand sidebar displays your directory structure, while the main pane lists files and subfolders in the selected directory.
- Action Toolbar: Provides options like Upload, Download, Edit, Copy, Move, Compress, and Delete.
- Search Bar: Helps you find specific files within the File Manager.
3. Uploading Files
- Click the Upload button in the toolbar.
- Drag and drop files or use the file selection option to upload files to the desired directory.
- Ensure file permissions are set correctly to enable functionality.
4. Creating Files and Folders
- To create a new file, click + File and specify the name and location.
- To create a folder, click + Folder and define its name and location.
5. Editing Files
- Select the file you want to edit and click Edit in the toolbar.
- The built-in code editor opens the file for modifications. It supports syntax highlighting for various programming languages.
- Save changes when you’re done.
6. Managing Files and Folders
- Copy/Move: Select the desired file or folder, click Copy or Move, and specify the destination.
- Rename: Right-click on a file or folder and select Rename to modify its name.
- Delete: Move files to the trash or permanently delete them.
- Compress/Extract: Create a ZIP archive or extract compressed files using the respective options.
7. Changing File Permissions
- Right-click on a file or folder and choose Permissions.
- Adjust the numeric values or checkboxes to set read, write, and execute permissions as required.
8. Backing Up and Restoring Files
- Use the Download option to save a backup copy of any file to your local computer.
- Upload or restore files as needed by navigating to the appropriate directory and using the Upload feature.
9. Viewing Hidden Files
- Click on the Settings option in the top-right corner.
- Enable Show Hidden Files (dotfiles) to view important configuration files like
.htaccess.
10. Best Practices for Using File Manager
- Always back up important files before making changes.
- Use descriptive names for files and folders to keep your directory organized.
- Be cautious when editing core files to avoid disrupting your website.
Using the File Manager in hosting cPanel streamlines website management tasks, offering a convenient and user-friendly interface for handling your site’s files without needing technical expertise.
